How to Use Flipgrid
Steps to Access the Grid
1. Access Flipgrid link via website. They are posted under specific weeks which can be accessed from the homepage. There are also a couple Flipgrid topic links in the "before reading" section.

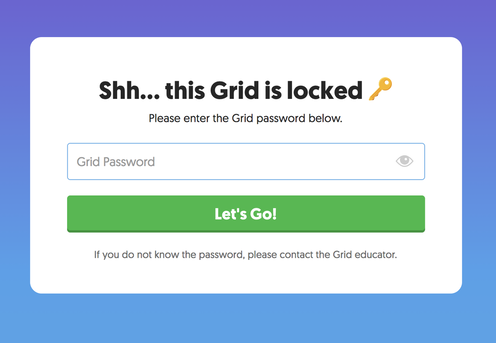
2. You will be taken to a page that looks like this (see image below). This is where you will enter the password Refugee18 to access.
3. You'll then be within the grid which should look something like this. If it is a grid that no one has posted to yet, you will only see the green plus sign and no other images.
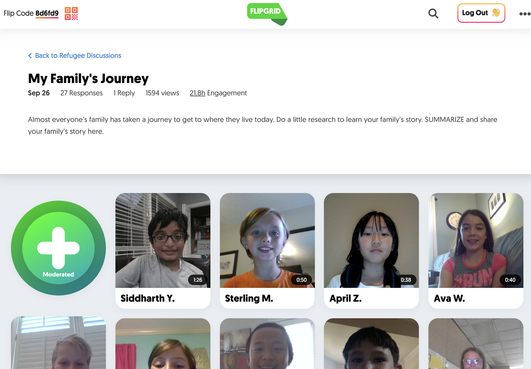
4. You have a couple options once within the grid. You can click on any image to watch that student's response. Students can simply watch or they can respond with a question or encouraging comment of their own. The other option is to click the green plus symbol to record your own video.
Creating Your Own Response Once Within the Grid
1. Click green plus sign.
2. You will be taken to a screen that looks like this:
2. You will be taken to a screen that looks like this:
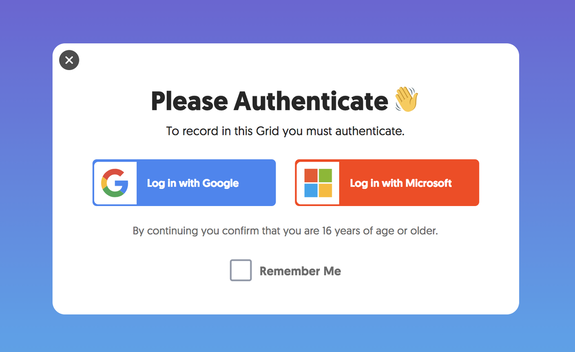
You need to login with either a Google or Microsoft account. Some teachers login under their own account for their students. If you do this, your first name will appear under their image, but you can add the student's first name and where you are from in a title section before submitting the video. I'll show you how to do that below. If your students have their own Google accounts, they will click "Log in with Google" and just sign into their account to proceed.
3. After logging in with Google or Microsoft to authenticate your account, you will come to a screen like this:
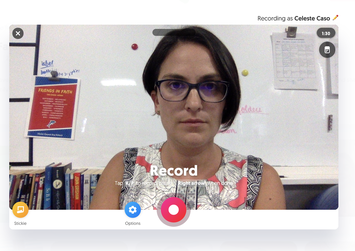
You may be asked to allow access to your microphone and camera the first time. Click "allow".
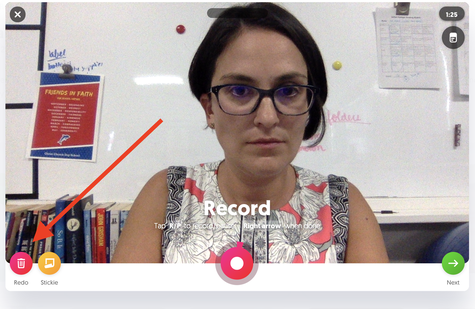
4. Click the red button to record. You can click the red button again at any time to pause, and then you click it again to continue recording. If you need to rerecord, click the trashcan (it's like a redo button). When done click the green arrow in the bottom right hand corner.
5. Your video will playback so you can watch it. You can shave off sections at the beginning or end if there was extra unnecessary transition time. When you are in playback, you can also click the T at the bottom to add a title. This is where you can add your student's first name if you are using your Google account and/or you can add where you are located. Everyone loves to see where people are connecting from.
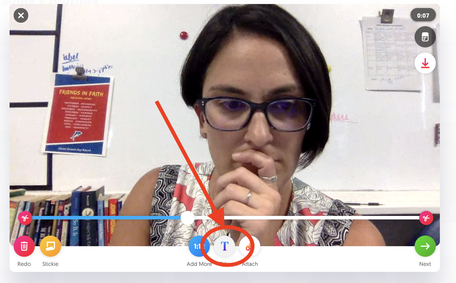
Click green arrow again when done.
6. You'll then come to a page that looks like this:
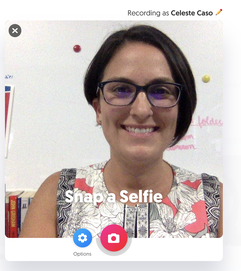
The selfie you snap will be your cover page for the video you submit.
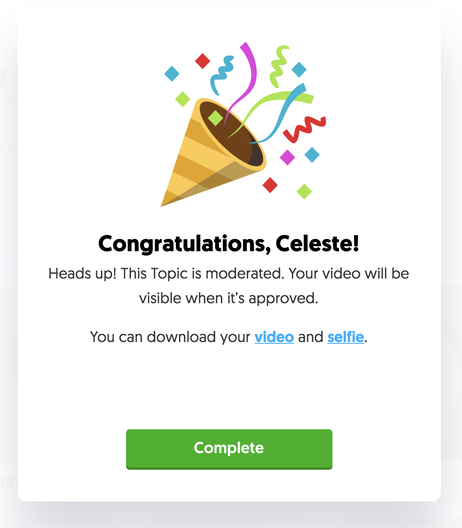
7. It'll take a moment to process, and then you will see a completion screen that looks like this:
|
Now you just have to wait for me to see it and approve it. I try to be fast. Typically getting through them all before I go to bed each night, so you can usually expect to see it the next day. |
To record a response to someone else's video, you will just click the green message icon at the bottom center of the screen when you watch their video. You will then go through similar steps to what I went through above.
It looks like a lot of steps, but I promise you that students get the hang of it really fast.
